Setup
Installation
Download the .zip file (no need unzip it).
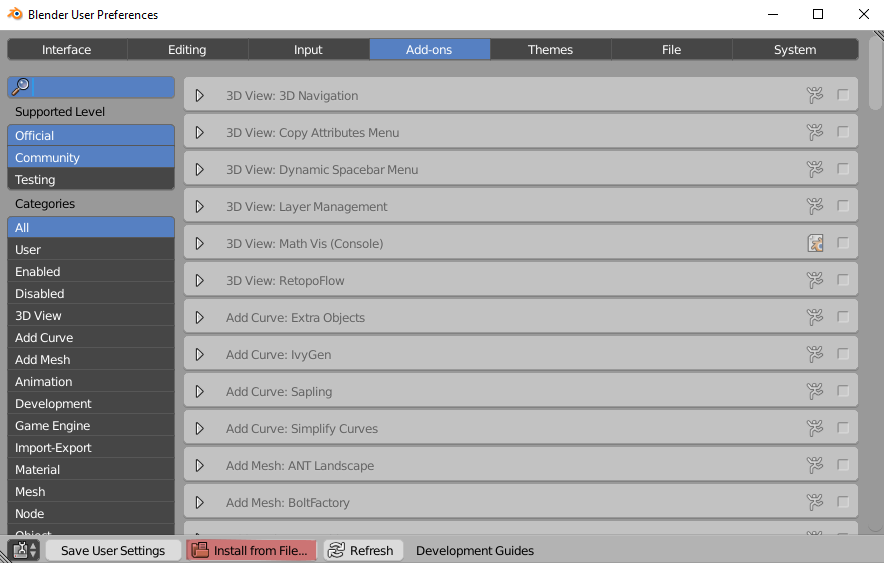
Open Blenders User Preferences and go to the Add-ons tab.
Click on Install from File... and select the .zip file you downloaded.
Enable the addon by clicking on the checkbox.
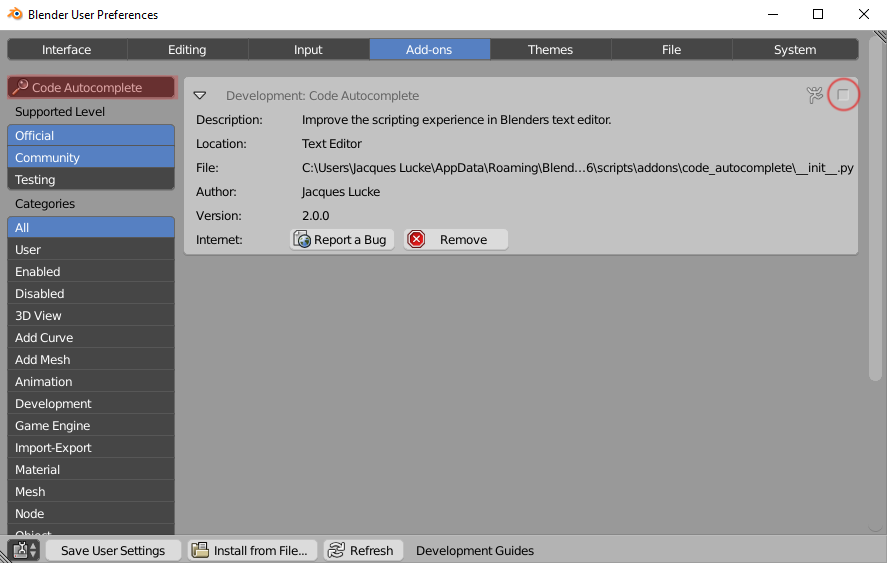
Click on Save User Settings so that the addon will be enabled when you start Blender the next time.
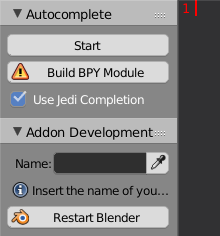
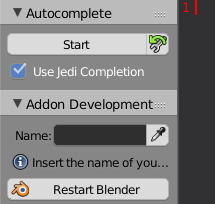
Check the Installation
Open the text editor in Blender and look at the toolbar. You should see these two new panels:
When there is a error message Jedi library not found you have to use another .zip file in the beginning. Direct download from the github page is not supported, because the Jedi library is a submodule which isn’t included in these downloads. You can either use an official release or use git to download the repository and its submodules (git clone –recursive https://github.com/JacquesLucke/code_autocomplete.git).
Finish the Setup
As last step you should click on the Build BPY Module button which creates a fake python module for large parts of the normal bpy module, so that Jedi can autocomplete types that are implemented in C instead of Python.
If there are any installation problems please report the issue on github: https://github.com/JacquesLucke/code_autocomplete/issues